
What’s up for 2020
Hello everyone,
I am very happy and excited to share this message with you.
It took more than four years of research and acquisition of molds, minerals and metals to give free rein to creativity. Lots of different resin trials, manufacturing trials and lots of mistakes.
At the end of the year 2019 I have generally reached the point where I can make orgonites close to the quality I wanted to achieve, with almost no errors.
Let me tell you a little bit about this adventure.
To start with it is important to know that there are basically 2 types of synthetic resins, epoxy resins and polyester resins.
Each with its advantages and disadvantages.
Epoxy resin is very practical because it hardens slowly and is slightly more resistant than polyester. But it is at least 2-3 times more expensive than epoxy resin and it yellows much faster over time due to a chemical reaction with UV light. If such an orgonite is kept in the dark it will not turn yellow, but in general having a nice orgonite is not meant to put it in a drawer!
Epoxy also heats much less than the polyester resin while it hardens, which avoids a very frustrating problem with the latter: cracks.
Polyester resin costs a lot less than epoxy and yellows very slowly. Clear epoxy will generally already be yellow after 3-5 years and brownish after 7-10 years. For polyester, I can’t say, I have a few old orgonites which after 10 years have visually not changed yet.
This yellowing effect can also be nice however, but personally I like to make orgonites which will have the same appearance in 10 years and even much more. For pendants that we tend to wear only a few years, it can be nice, but for large orgonites as I like to make them, it is a piece of art that we can keep in view somewhere for years at home.
To specifically take advantage of that non changing advantage of polyester resins, I had to learn to master them really perfectly, with their major disadvantage, cracks.
I worked hard. Mainly because I love the fact that it hardly yellows, but also for its inexpensive price in terms of materials.
Making only one pretty orgonite at a time was not too much of a concern, but for what I wanted to achieve I had to make these beautiful orgonites by five, ten and even more, without error.
I had to test and find lots of different resins
To tell you about this learning, let’s look at some photos of the first orgonites.
At the end of 2015, one of my very first:

Without transparency it was simple, with these loose colors I simply tested effects. But it was mainly to start testing the re-coating, which gives them a smooth finish like glass.
The fact that there are lots of metals prevents cracking. There are additives for resins, called “fillers”, which make the resin more resistant to impact and cracking. I learned it over time, fine aluminum shavings were acting as a filler without me understanding it for more than 10 years! Otherwise, I’m not telling you what the cloudbusters bases would have looked like. Besides, my very first cloudbuster, in 2006, was a festival of big cracks!
At the end of 2016, the first tests with transparency began.
This one for example:
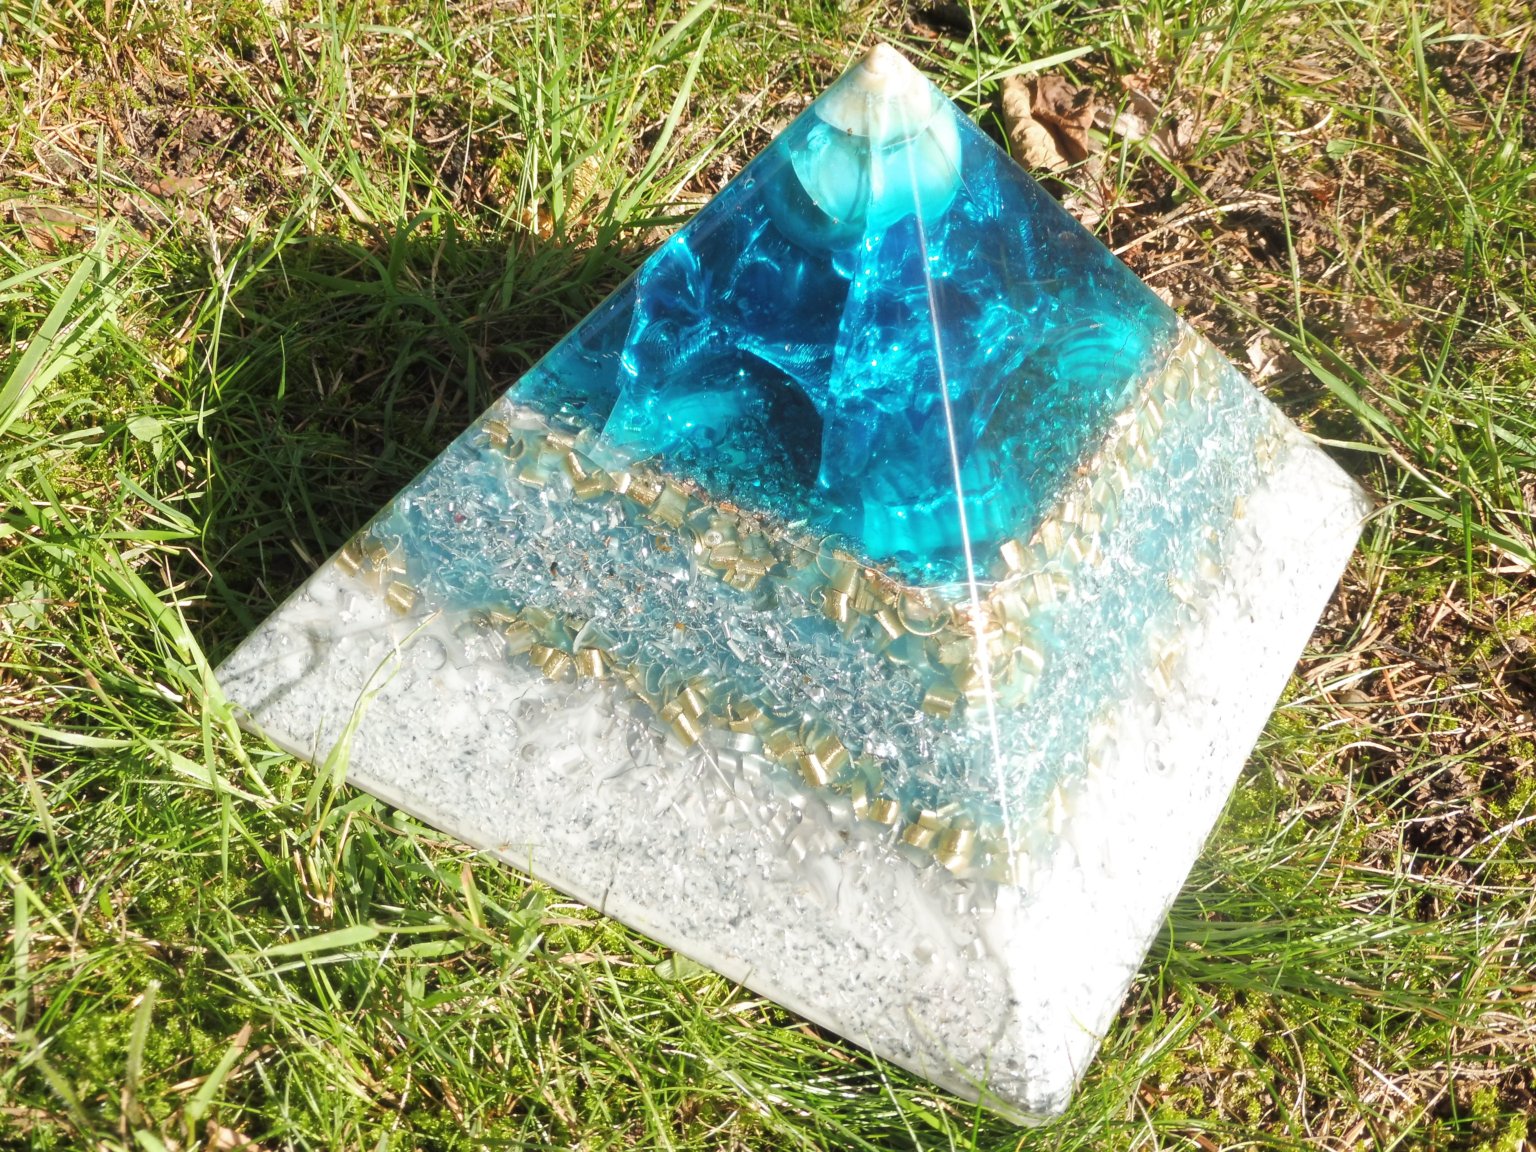
Or this one:

It was not great…
These orgonites were also trials with some new resins, because I was also looking for the best resins, both for their prices and for their technical characteristics.
By the way, I take this opportunity to say thank you to the people who still bought all these orgonites despite these big visual defects. Even if the appearance is not fantastic, the energies of the orgonites are and will always be good, it is still the first priority!
However, you can cook delicious dishes without a presentation, but if you can also present them succulently, why not. 
I was not alone in the adventure, other friends came to learn how to make orgonites with me from time to time. Here is one of Julien made at the end of 2016 too. Even with the cracks it was very pretty, imagine without…

Also what you have to understand is that it was often the same below. Here is the bottom,
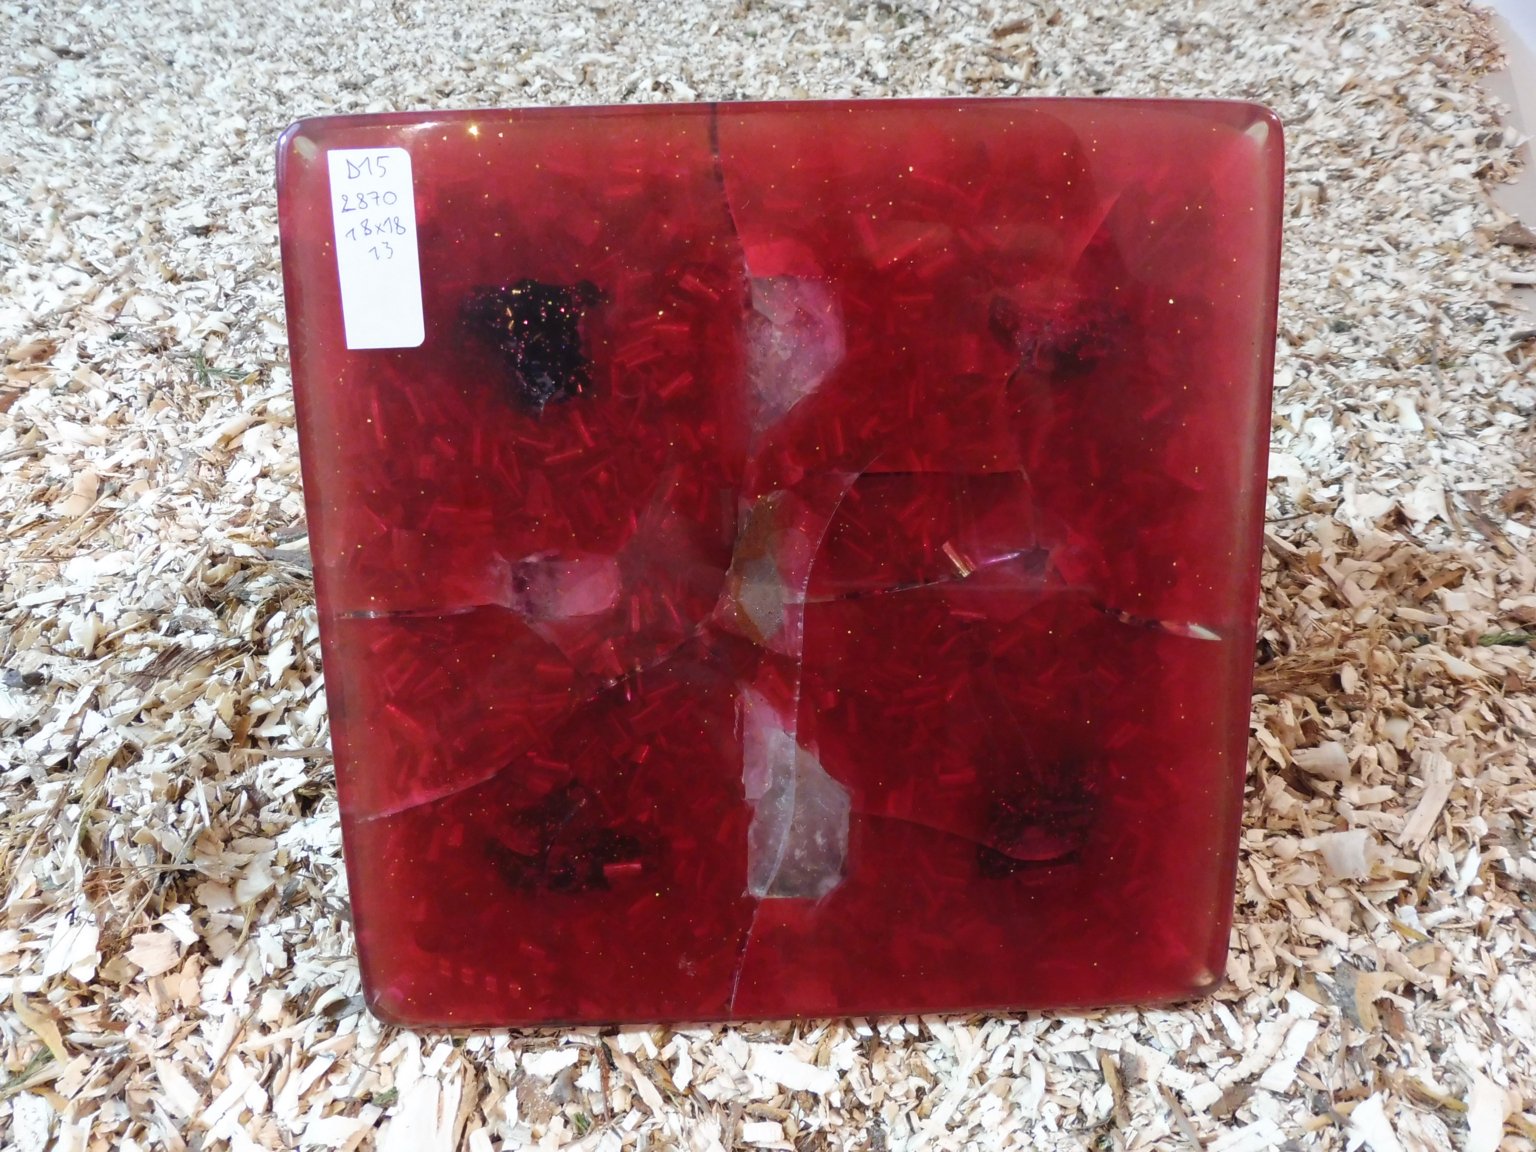
And as you will understand, this detail below is very important, not just for appearance.
Then I started trying to make larger transparent areas.
Because I had started to manage well the transparent resin in small pours, so I could move on.
So here is an example of the rest of the adventure:

Long live the cracks.
After that it improved a bit during 2017:
This one for example:

with the bottom already a little less cracked:

But not close to what I wanted.
Little by little, by testing, I learned to make 4 orgonites at a time, then 6, then 8 .. And more after.
But when you miss, it makes mistakes that require dozens more hours of work to correct.
That said I still wanted to make them available so I did what I could to finish them as best as possible, but the price at which they were sold did not correspond at all to the hours spent correcting/trying for each orgonite, it sometimes exceeded 10h for an orgonite…
I absolutely wanted to manage to make several at the same time, because for large orgonites it usually takes up to 8-10 hours to go through one complete pouring, wait for each layer to finish hardening to move on to the next. But if I can do one in 8 hours or 10 in 8 hours, it’s much less working time per orgonite.
Because it’s not easy to do something else at the same time, it’s a game on the phases of catalysis, you have to be there at the right time, and these moments last 10-20 minutes, you have to do everything that is necessary in each orgonite quickly enough. Doing something else at the same time is difficult, that’s why making many at once seems a good opportunity to use that time that cannot be spent elsewhere anyway.
That was the basis of my learning with polyester resin, succeeding in slowing down as much as possible the rapid catalysis to have spaces of 10-20 minutes and more to be able to place things in the orgonite where I want in certain layers . If we do one at a time we can go faster because we don’t need to manage a dozen orgonites at the same time.
Ideally, of course, the fewer errors, the better. So that you understand the process, when the orgonite is made, without coating, you feel all the metals when you touch it. With light aluminum shavings, like basic orgonites, it’s fine, but with heavy metals it’s very unpleasant to the touch, that’s why I want to re-coat them.
To do this, you must first sand the orgonite very roughly. Before they become all pretty they go through a stage where there is almost no transparency because of this extreme sanding.
This step is necessary, like to redo a painting on a wall. Thanks to this roughness the new resin coating layer will adhere well. Otherwise you can actually easily break this second layer of resin that coats the orgonite.
For my multiple tests I do not tell you the number of times that I have grinded/sanded orgonites and re-ground and re-ground because the coating did not work and was cracked, or not very transparent.
Doing it the first time goes fast enough, because you just have to make the orgonite rough, but when it is necessary to remove the failed coating, it means tearing off 2-10mm of resin on each side of the orgonite, that takes time and sanding wheels…
I have done many tests like this because this coating has remained problematic for more than a year and a half, the problem is that the resin shrinks while hardening (1-3%), but when we have orgonites full of stones, or areas that look very nice with a lot of stones, the resin cracks around these areas, because the stones do not shrink.
At the beginning it became like that:
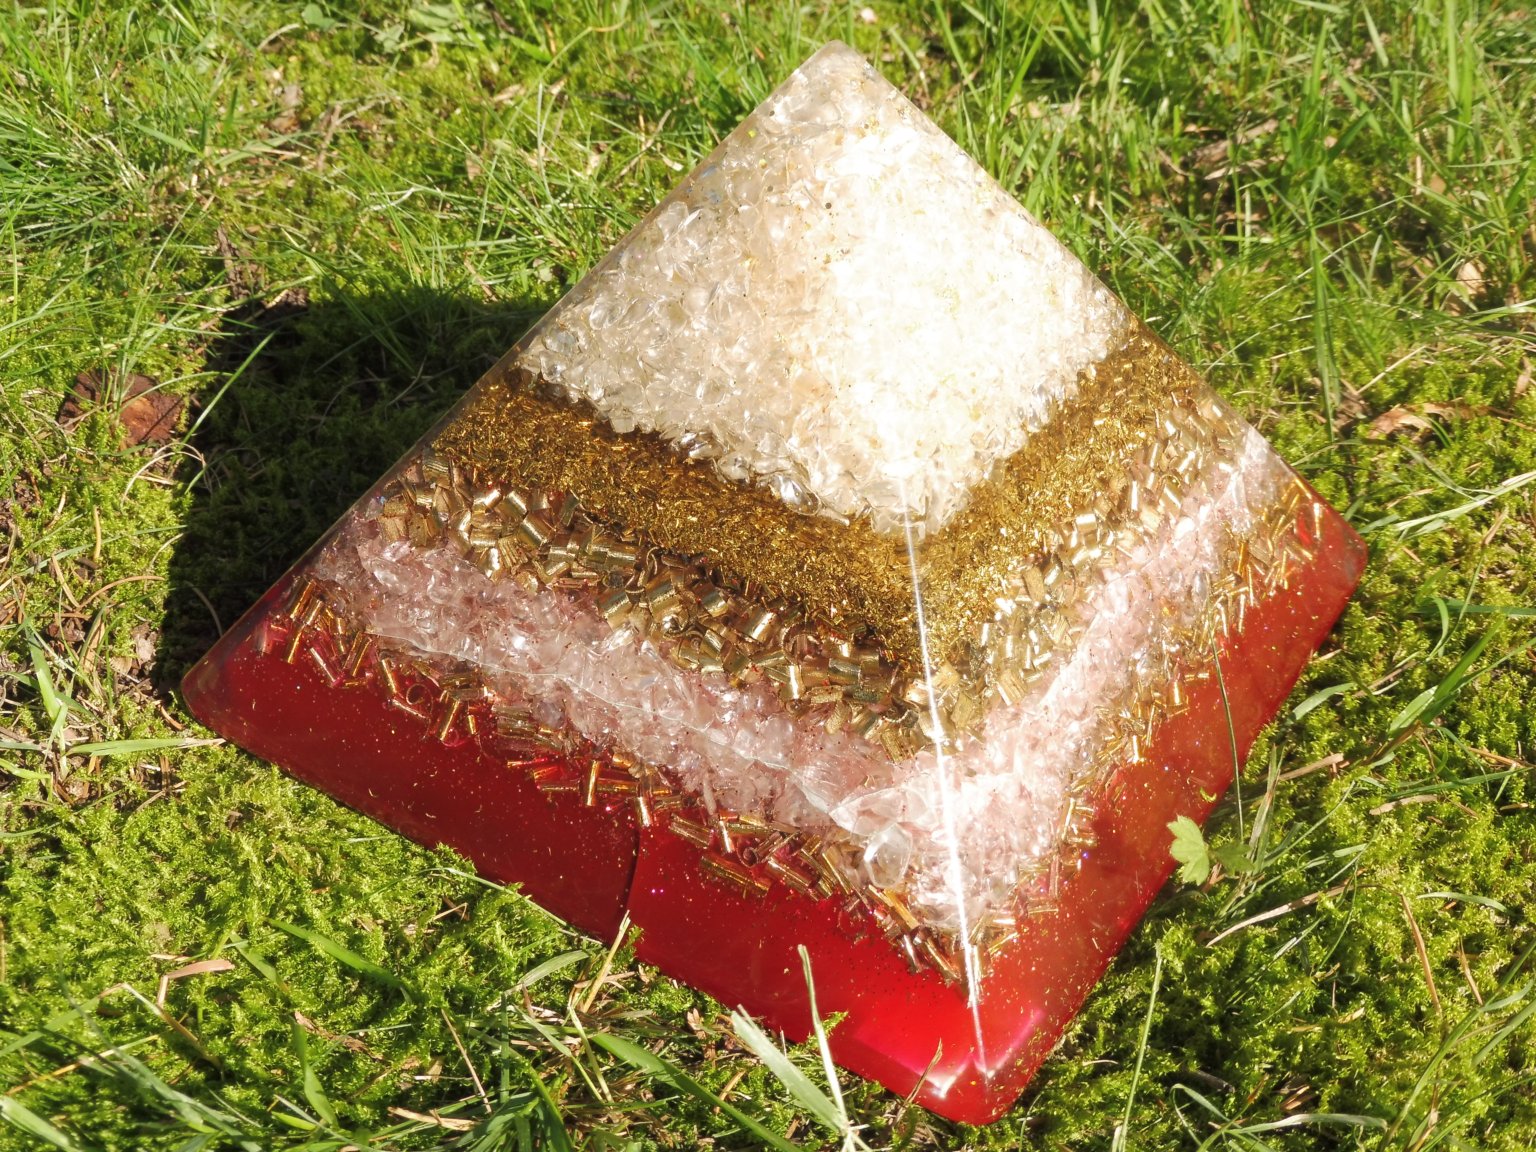
you can see the crack that follows the whole area of mini tumble stones.
Thereafter it gave this:
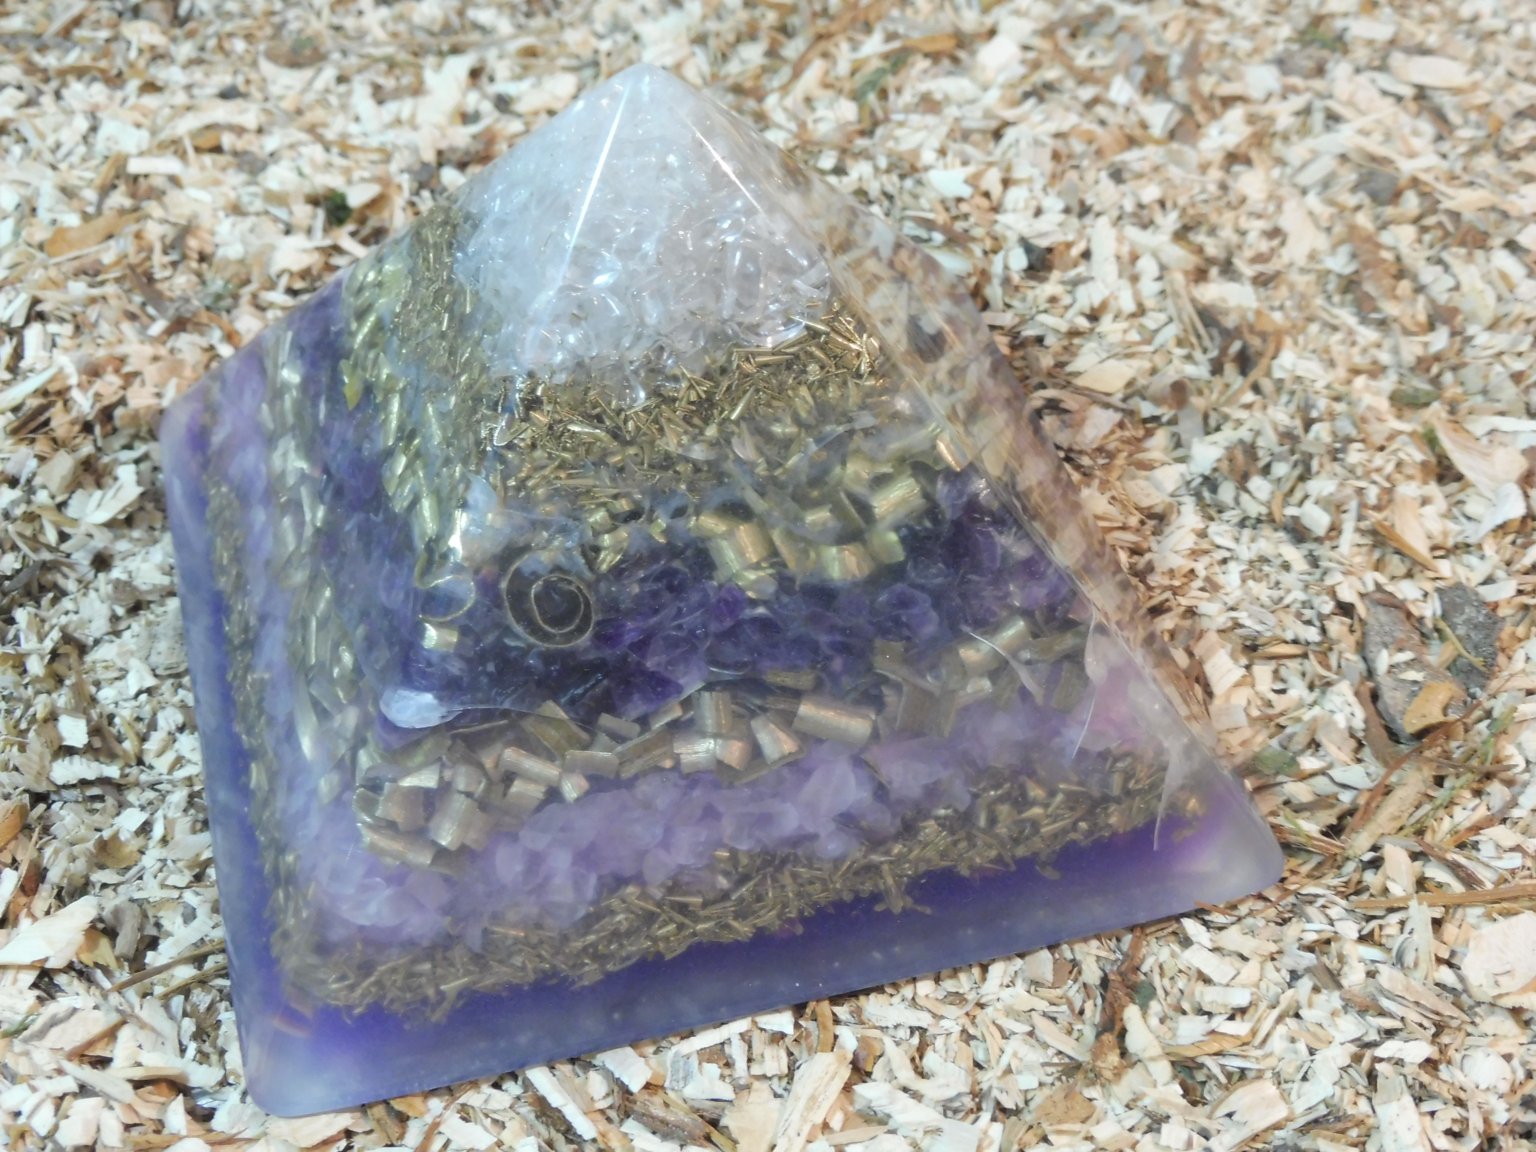
You can see the crunches at the bottom right, or in the middle of the ridge on the left.. Well, it’s already not bad, compared to the very beginning of the learning, but to achieve this result I did a double coating, still time that could be saved. I was testing with fillers to reinforce the resin (fiberglass powder), but the problem was that these fillers made the resin less transparent.
So here is something at the end of 2017:
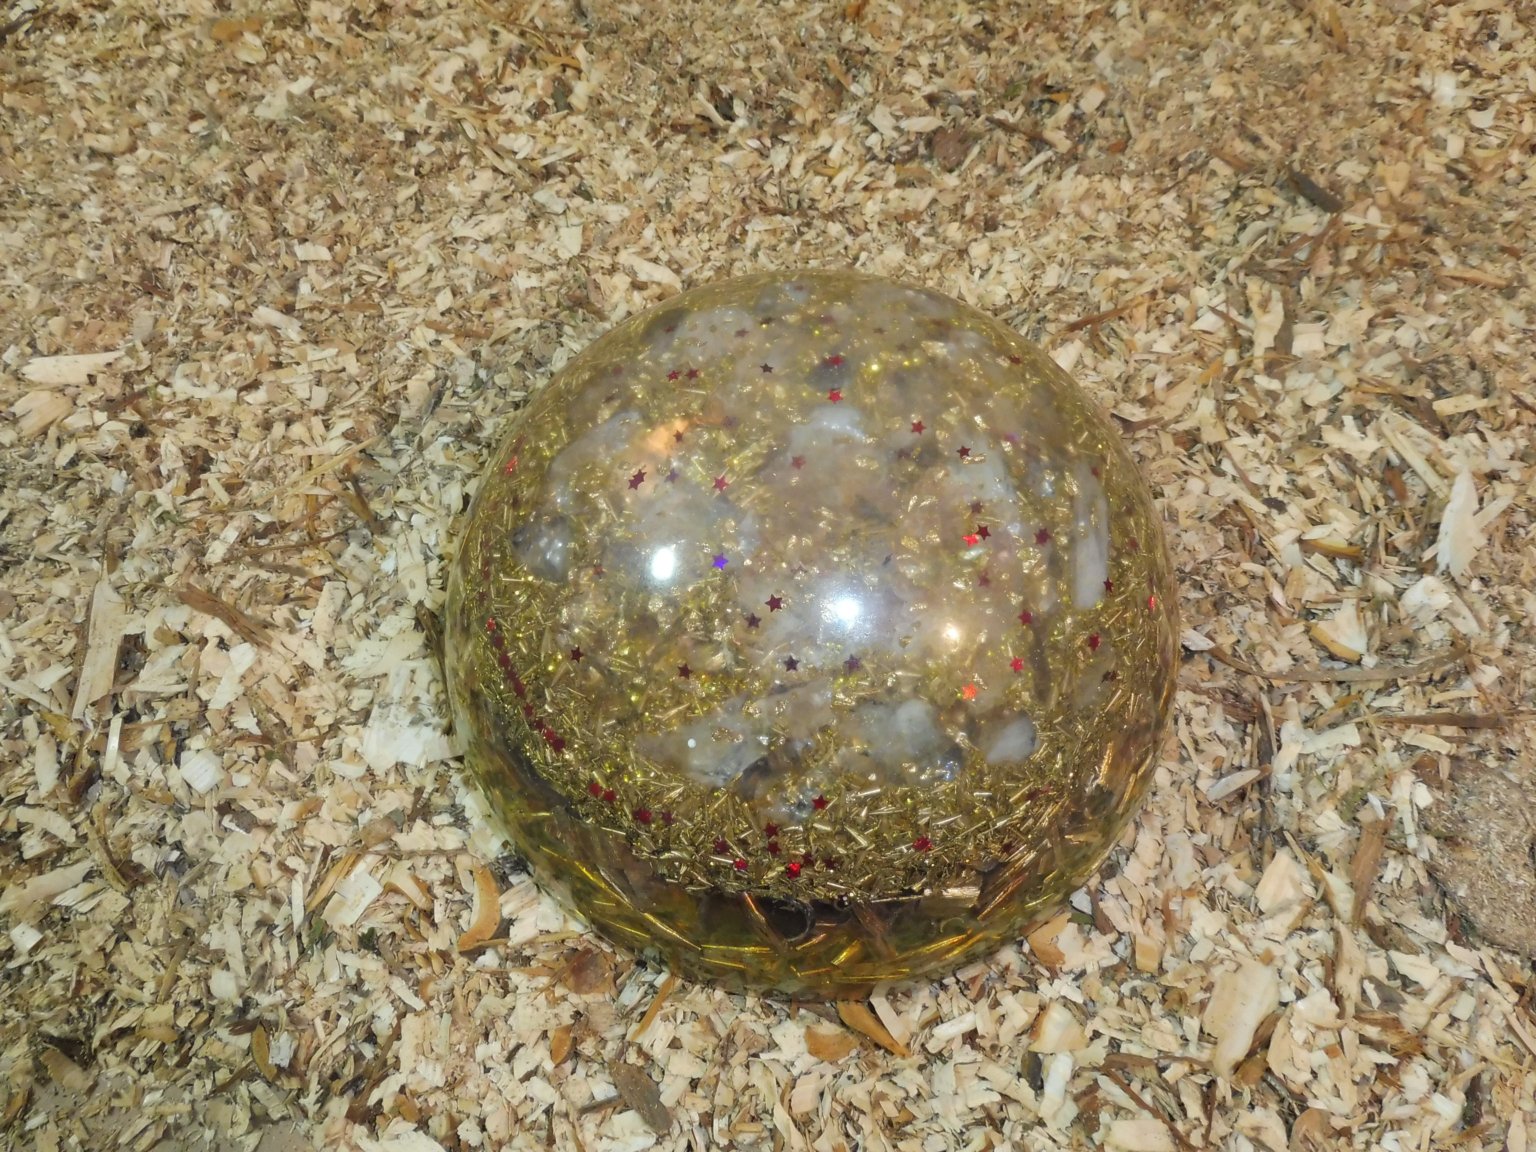
It’s stupid, this last orgonite was really sparkling before the re-coating. But without the re-coating we feel all the metals around it, it’s almost dangerous because we can cut ourselves.
I managed to have no more interior cracks by that time, but now the coating was disturbing because of this loss of transparency, or it gave a very dull appearance:
We can see it very well on this one:

It didn’t even prevent the cracking of the resin!
Then around March 2017 I had a setback that made me panic, the transparent resin that I had taken more than a year to get used to was no longer produced anywhere!
But it was a boost from the universe, it made me buy all the types of transparent polyester inclusion resins that exist in France (and even Europe) and I discovered that even the inclusion resins were not equal to each other. In fact I had the worst in terms of resistance (but the most transparent and in fact it still exists!). By testing these new resins I discovered one that was much more viscous and more resistant and there, the coating problem was solved. It was necessary that said that I also understand the aspect of the use of release agent, until then I made the re-coatings without release agents, I did not realize it but the resin stayed attached on the mold while hardening, which was also a cause of cracks.
Anyway, I got there, here are some examples:
<< pictures >>
It borders on the perfection I was looking for.
This is also why there were lots of orgonites put online at once in 2019, I spent my time testing, the finishing phases were acquired, but I did not do them, so a lot of orgonites accumulated without ever being finished!
So after the final re-coating, you still have to sand, with a sander: grain 80, then 120, then 180, then 240, then 320. Then by hand in water with a grain of 600 and 1200.
Depending on the orgonites, you have to do all the sides, or just the bottom and slightly the sides.
I’m still looking for a solution with a machine that would save working time on the 600/1200 phase by hand, and therefore lower the final price, but for the moment I have not yet found one. Besides, there are still ways that I am exploring to reduce working time, especially on the pyramids, but it will take time, I need extremely precise custom-made molds. Unfortunately the steel molds for pastries are far from perfect, so I waste a lot of time sanding the faces to flatten them completely. Some molds are not even square. Fortunately the domes are perfect!
At the moment I only found offers of more than €500 for a pyramid mold, not even guaranteed perfect.
Then you have to polish the orgonite with a polisher. It was also this step that made me hang around to put the orgonites online, because before discovering the polishing method, I sanded with 600, 1200, 2000, 3000, 4000, 5000, 6000, 7000, 12000 to make the orgonite shiny again! It took about 45-60min of sanding by hand for one orgonite, it was not very pleasant. With polishing, it takes about 5-15 min per orgonite.
And there are still other steps, I invite you on this page for more details: Types of finishes
For all these reasons prices will go up. Because before that I also did not know how to estimate the working time per orgonite since the manufacturing process was not yet clear. Now it is and the prices do not correspond at all to the work behind it.
However I remain fixed on the same objective since the beginning of my activity in orgonites. It is to make orgonites accessible to everyone, I know that not everyone can put several hundred euros in an orgonite.
Coating, or not coating, the energy of the orgonites is the same.
Since until now I missed even the first casting, before the coating, the cracks made the orgonite fragile without coating, I had to do the coating.
That being settled, now the orgonite comes out already very suitable after the first pouring, it is no longer necessarily in need for coating to reinforce it.
And so I can use a method that I always use during the workshops, because we don’t have time to do all the orgonites with re-coatings because you have to wait between the different stages and in a weekend it’s difficult . This solution is a transparent varnish spray. We have a frankly super pretty orgonite for almost no effort, you just have to quickly sand the orgonite so that the varnish adheres.
That’s why I worked so hard to master the manufacture of these orgonites by 5-10, and even more since 2019 I had to manage to make them already very pretty from the first shot (and without cracks), because thus, I only have to sand the faces and edges, spray a polyurethane varnish 2-3 times to cover all the faces and leave it under infrared lights to dry it well.
So these orgonites without a second coating will be more affordable, but don’t forget that there are plenty of other steps left, as you can see here Types of finishes, so the price does not will not decrease drastically either. It’s the best I can do.
For the series of several orgonites, there will in fact be a version, if I can say, deluxe with the re-coating finishes, which for the large pyramids and domes will always be around 220 – 300 €, and a standard version with a slightly less perfect finish, but in this case for lower prices 160 – 200 €. For cones and smaller it will be a little cheaper, because the molds are made of glass and the demolded orgonites come out better already, so less sanding is necessary. The prices will be between 150 – 200 € and 120 – 150 € for finishes just with polyurethane spray.
This is also why the type of resin was important, the epoxy adds a lot to the price of raw material (not to mention that there are still plenty of finishes to do), while with polyester it is almost that of the working time that makes up the price, if I could reduce this one, I could make these beautiful orgonites a little more affordable for everyone.
I’m getting there little by little and I’m still hoping to improve a bit.
In the same way I will have to readjust the price of simple orgonites a little, it will have taken me years to estimate and measure correctly the average time of packaging, the time of the conversations by e-mail, the time to make accounting, time for purchasing and research of materials (searching for metals is not always fast). It really takes longer than I thought, which was not really counted in the prices, especially since the scrap metal sellers do not make the task easy.
With this readjustment I will also apply the price system at reduced rates for all single orgonites, these rates are based on many factors, the time spent answering questions from new people who will or will not order something, a person ordering a lot and asking no questions will quickly have the minimum price, packaging for multiple orgonites requires less time than packaging for an orgonite each time, the journey to the post office for a large or small package, etc.
Finally I will also start a new full time job by the side, because after 7-8 years doing this activity, even if I live well enough I do not consider it enough to be able to buy a house, land and install myself somewhere permanently. I still earn below the minimum wage while I have spent years working more than 40-50 hours/week, it is not possible to continue like this indefinitely.
Above all, I live below the minimum wage, hosted for free in the family home, with a free workshop, no electricity/heating costs for the workshop. If I had to pay all of these charges I wouldn’t even have been able to continue until now.
These price adjustments also take this into account, hoping to make a living from this activity that I still love very much. But in the meantime I have to find another job to start saving for the purchase of a land/house.
Thank you for all these years of exchanges, it is still an amazing pleasure to meet almost only very open-minded people!
This is one of the reasons why I love this activity.
Thank you, thank you, thank you, hoping it will continue.
Best regards from the deepest part of my heart,
Fabien Broquard


